Making a Panorama from your Photographs (using Photoshop)

A panorama (formed from Greek πᾶν “all” + ὅραμα “sight”) is any wide-angle view or representation of a physical space, whether in painting, drawing, photography, film/video, or a three-dimensional model.
Step 1
With your camera, take multiple pictures by standing in one spot and turning slowly while keeping your frame steady and parallel.
Step 2
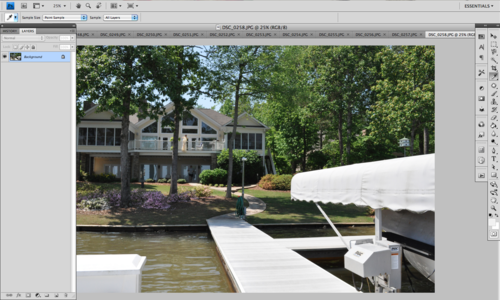
Open Photoshop CS4 (or higher) and open all your images.
Step 3
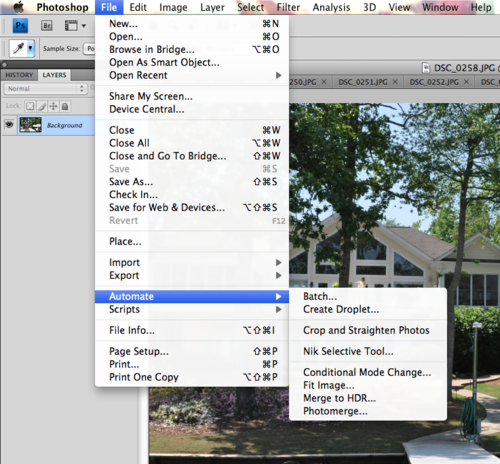
Click File » Automate » Photomerge
Step 4
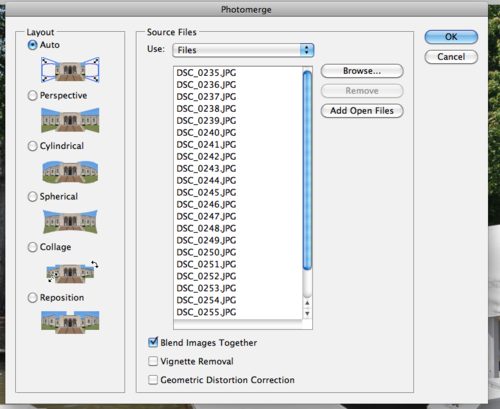
Make sure Auto is selected on the left hand side. If it isn’t, select it. Then click Add Open Files.
Step 5
Click OK then wait as Photoshop constructs your panorama. The fewer the images the quicker it takes.
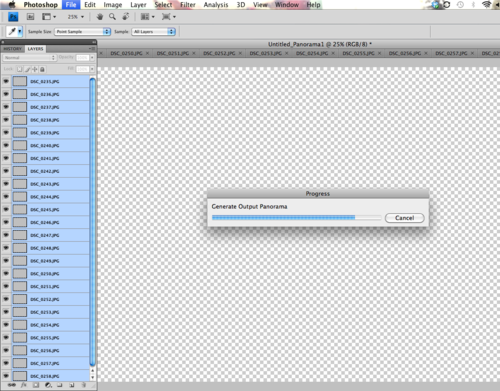
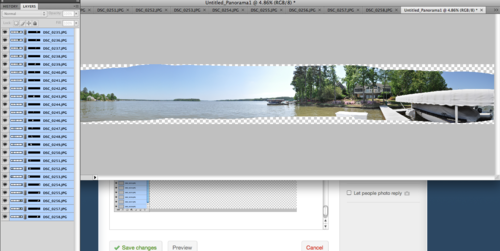
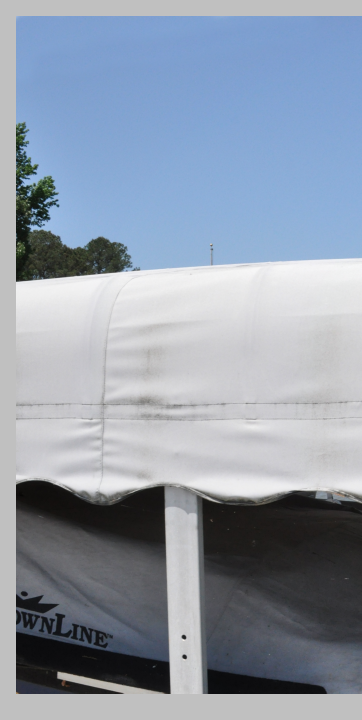
After it completes you should have a new window opened that says Untitled_Panorama1.
Step 6
Close all other windows and leave the Untitled_Panorama1 open.
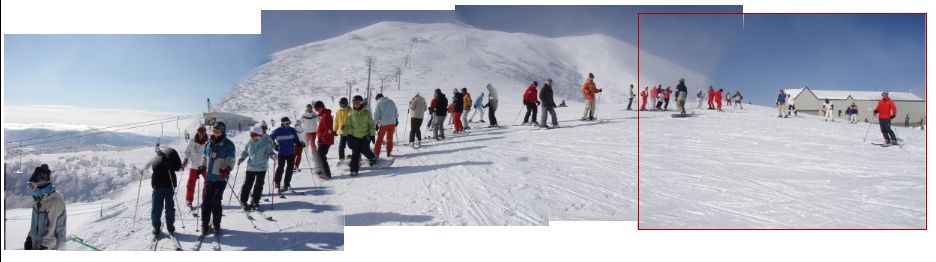
You’ll notice that all the photographs are in separate layers and compiled together. Sometimes when you zoom in you can see the tiny craquelure between the images. Don’t worry, they will go away at the end.
As you see, the image is not perfectly straight, because I shot these images without a tripod and so it sweeps up in the middle.
Step 7
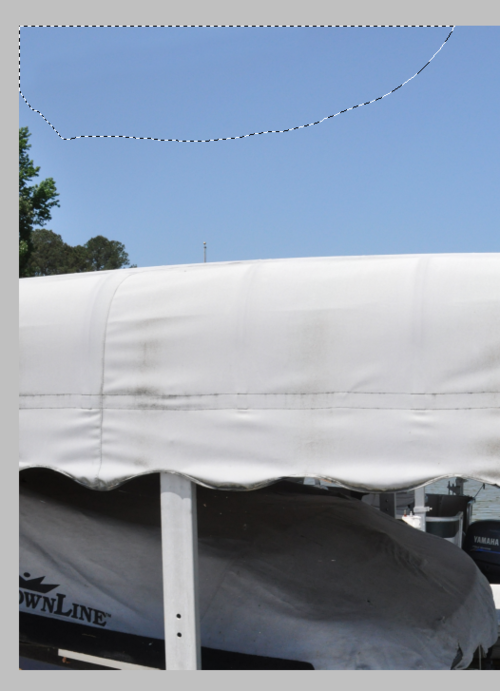
Crop the image as much as possible without losing the majority of your image.

Step 8
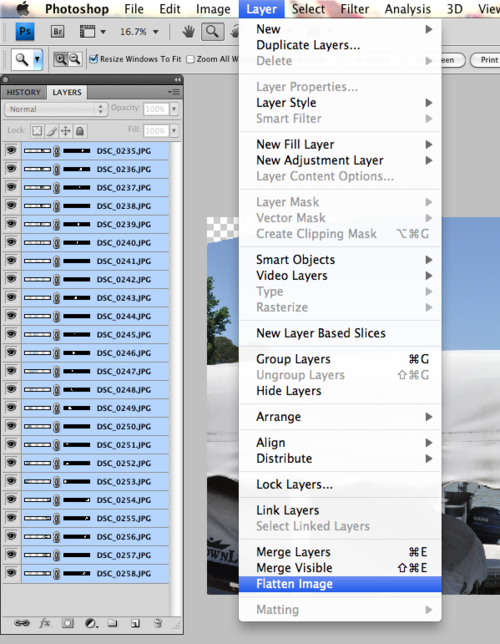
Go to Layer and select Flatten Image.
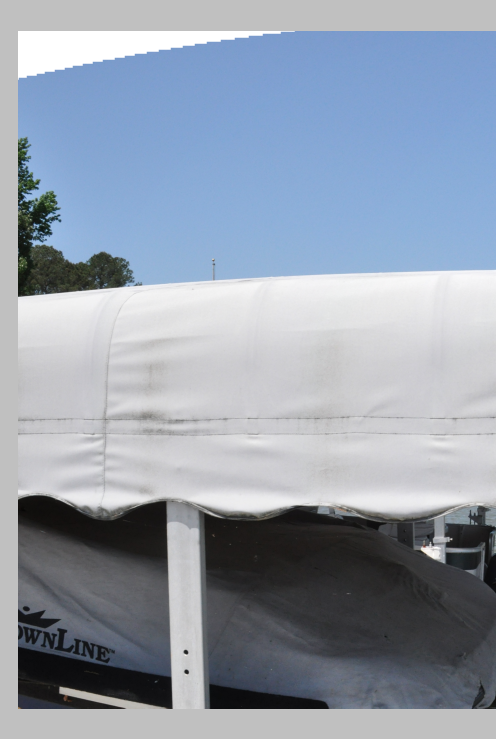
Some parts of your image will appear white because there was no information to compress.
Step 9
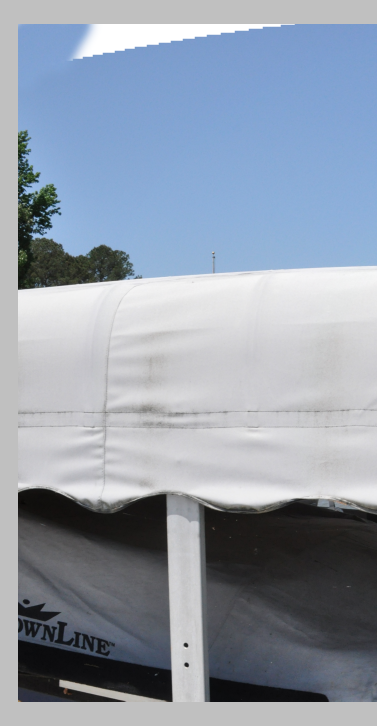
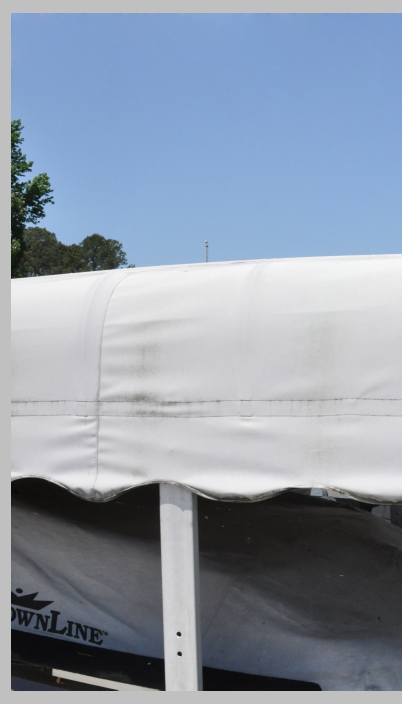
Select the Clone Stamp Tool  . Select the Option key and click a replaceable matching area with your now target looking Clone Stamp Tool.
Then release the Option key and paint over the white using your circular Clone Stamp Tool.
If you look really close you can see that the blue is still a little streaky. If that happens in your attempt do this next step.
Step 10
Select your Patch Tool  and then use the tool to select the area that is still streaky, make sure you are only selecting a similar looking area and not a stray tree or other random color – that would ruin your patching.
Move your cursor into the center of your selection and pull and drag the selection over to a similar matching blue area. The patch tool will smooth over any irregularities.
Repeat Steps 9 & 10 as needed for the rest of your image. Once you are done you should have a fully finished, flattened image.

If you took high res photographs you should be able to zoom in now and see details close up. You can even see my mom shaking out laundry to dry.

And you are done! Save your image and enjoy!
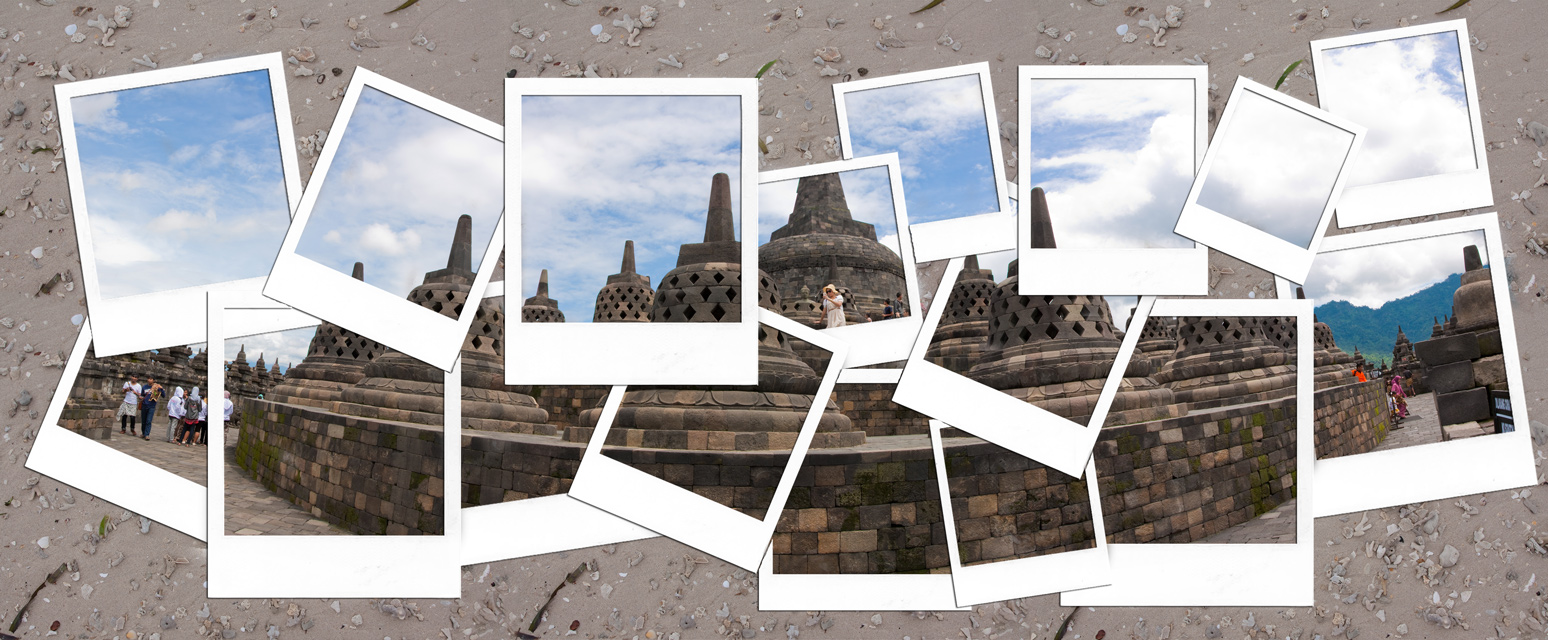
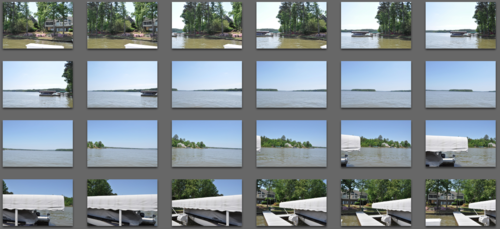
I suggest exploring different ways you can use the Photomerge in Photoshop. Here are some other great Photomerges:
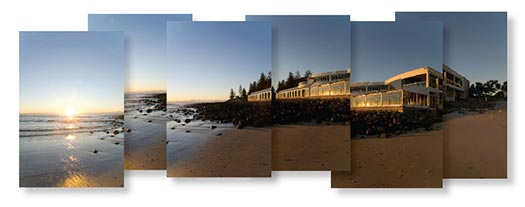
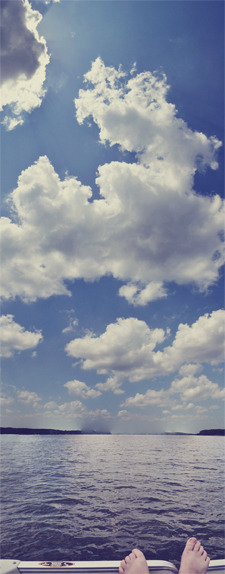
My Vertical Photomerge:
Other found Photomerges: