Turning your Photos into Classic Black and White Images (using Photoshop)

Black-and-white, often abbreviated B/W or B&W, is a term referring to a number of monochrome forms in visual arts.
Black-and-white as a description is also something of a misnomer, for in addition to black and white, most of these media included varying shades of gray.
Step 1
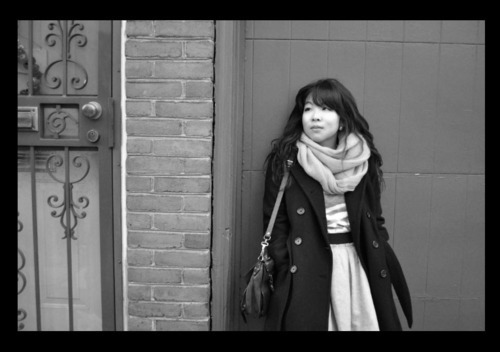
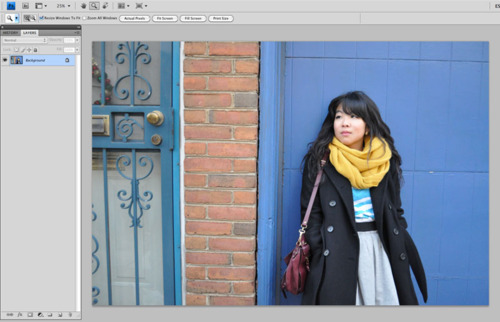
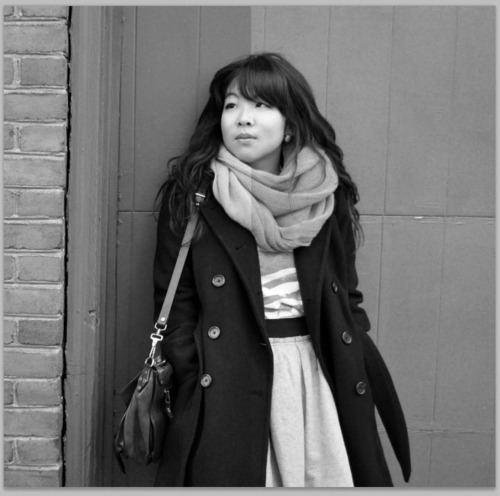
Open the image you would like to make into a Black and White Image.
We want this image to have textured shadows and glowing highlights to help the final black and white shot to be as rich as possible.
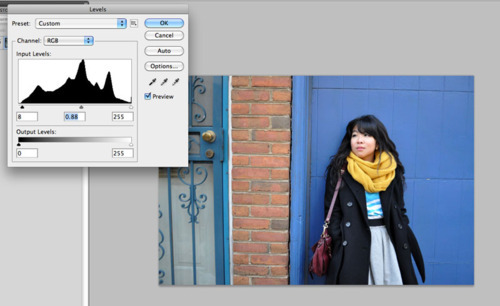
Step 2
Click on Image » Adjustments » Levels
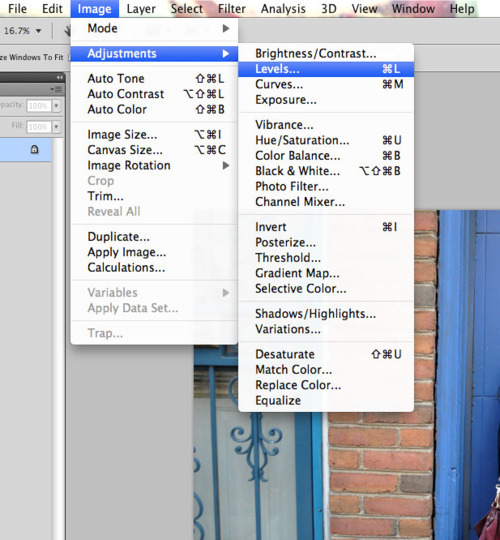
Adjust your levels as you judge to be best. Try not to make your shadows too dark and avoid blowing out your whites. After you’ve adjusted appropriately, click OK.
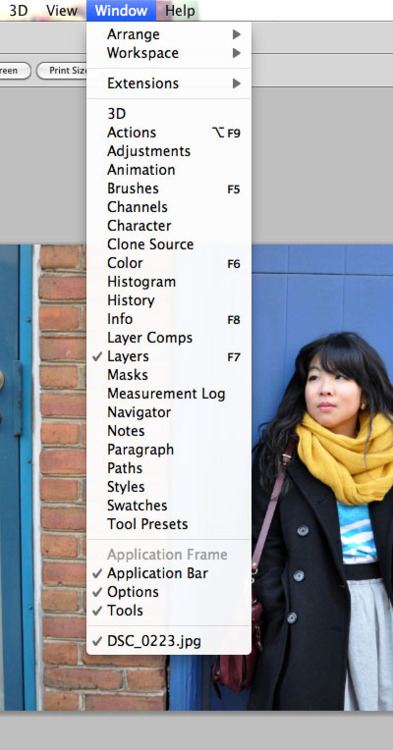
Step 3
We need to open your adjustments panel. Go to Windows » Adjustments.
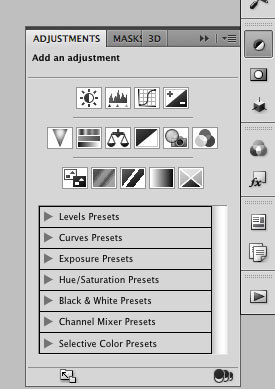
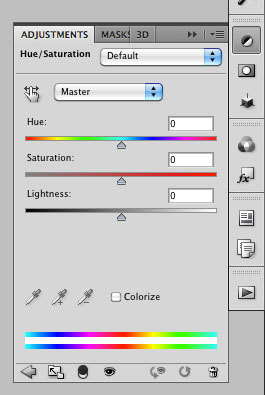
Once in your panel click on the Hue & Saturation button  . Your Hue & Saturation panel should look similar to this:
Step 4
Pull the Saturation tab all the way to the left, or type in -100 for the Saturation. Your image will go grayscale.
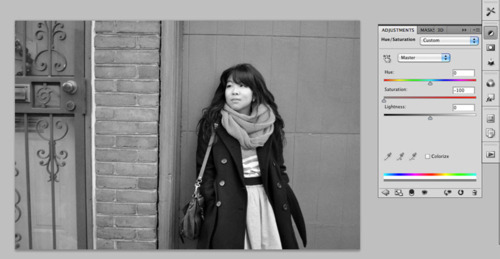
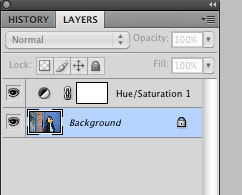
Make sure your Background layer is highlighted, not the adjustment layer.
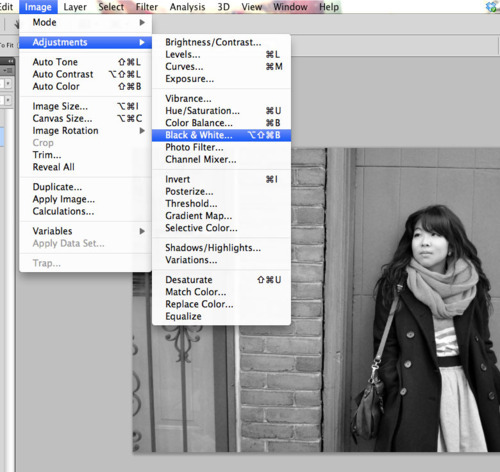
Step 4
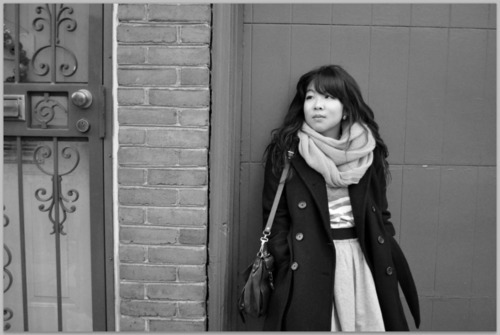
After that, click on Image »Adjustments » Black & White
This is what the Black and White Adjustment Panel should look like.
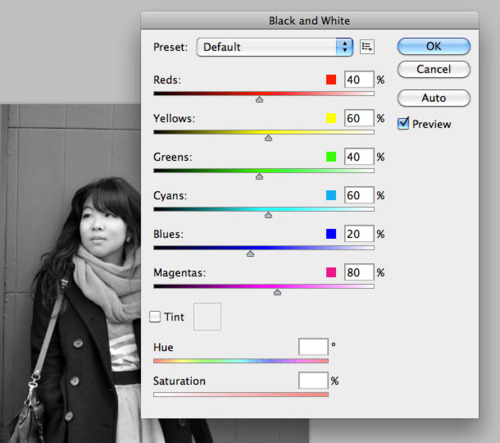
Keep the Preview checked and adjust the colors as you see fit to enhance the shadows, levels, and tonal balance as you judge best for your image.
When you are done click OK.
I chose to deepen the blues and and lighten the yellows while only slightly touching the red tones. But this is something unique to your own image and judgement. (Before on the right, After on the left.)
This can be your final product, or you can do a few more adjustments if you are trying to get a different feel to your image.
GLOWING HIGHLIGHTS OPTION
If you are aiming for a glossy, glowing black and white. Here’s what to do:
Step 5
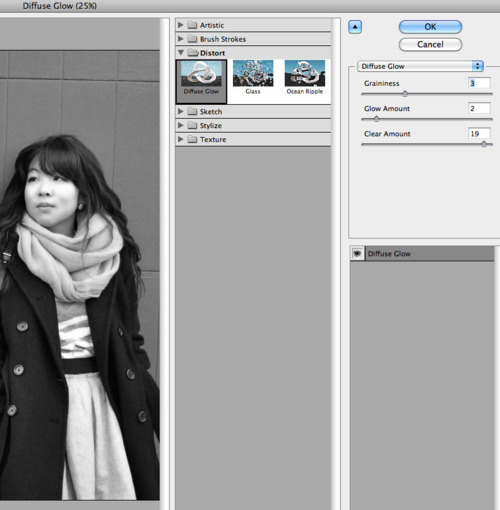
Click Filter » Distort » Diffuse Glow.
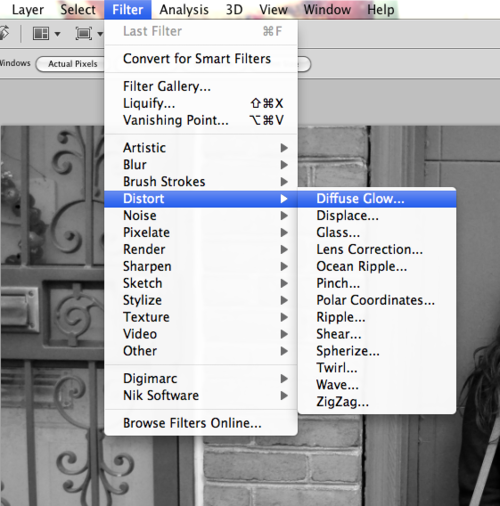
Once the window opens zoom out so you can preview the full image in the preview window.

When you open your image it may appear to be waaaay to white, don’t worry you will adjust accordingly.
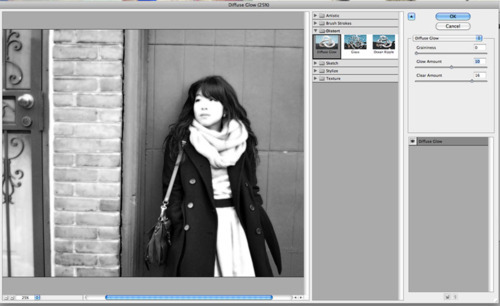
Step 6
Adjust the Graininess, Glow Amount, and Clear Amount as you judge to be best. I suggest being sparing with the Grain and Glow and heavy with the clear.
STEP 7
Click OK when you’re done and you are finished with your Glowing B&W Image.